
Ride better: Riding tutorials by Matti Lehikoinen & Leo Kokkonen
No matter how good you are as a rider, you can always evolve. Matti opened his cookbook for all of us, about the fundamentals that will immediately make you a better rider. Put your headphones on and make notes, while Matti gives the tips, and Leo demonstrates them in practice.
Quick links
- About Matti, and why should you take notes from him? (0:40)
- Motivation: How did Matti help Leo to progress as a rider (02:03)
- Tip 1: Elbow position when riding, and why does it matter? (04:30)
- Tip 2: Right bike for the job helps you out (06:20)
- Tip 3: Focusing more means less fatigue (07:50)
- Tip 4: Riding posture demonstrated (08:41)
- Tip 5: Pedals and corners (10:22)
- Tip 6: Unsupported corner; is there a perfect way? (11:08)
- Tip 7: Breaking in corners explained and demonstrated (12:46)
- Tip 8: Difference between the best riders vs. good riders (15:08)
- Tip 9: Riding corners with off-balance posture (16:34)
- Video (17:23)
- Tip 10: How it all stacks up
Riding tip 1: Raise your elbows
By putting your elbows up, you can utilize your upper body muscles better, which helps you to transfer more strength from your body to the bike and gives you more stability. Also, raising the elbows shifts your weight more upfront, which gives you more space and adds some traction to the front wheel.


Riding tip 2: Right bike for the job
The less you are in shape, the more you can compensate it with the right bike. Stamina 180 is a perfect example of a bike that gives you more effective miles. Always get a bike that is for what you will ride – our suggestion is Stamina 140 or Stamina 180.


Riding tip 3: Focusing more means less fatigue
Pay attention to your riding posture all the time, and it will pay off as more hours on a bike. Once you find your basic riding position where you can stand on your bike freely, you can start to recover rather than being crouched behind the handlebars, hoping for the best but going for the worst.
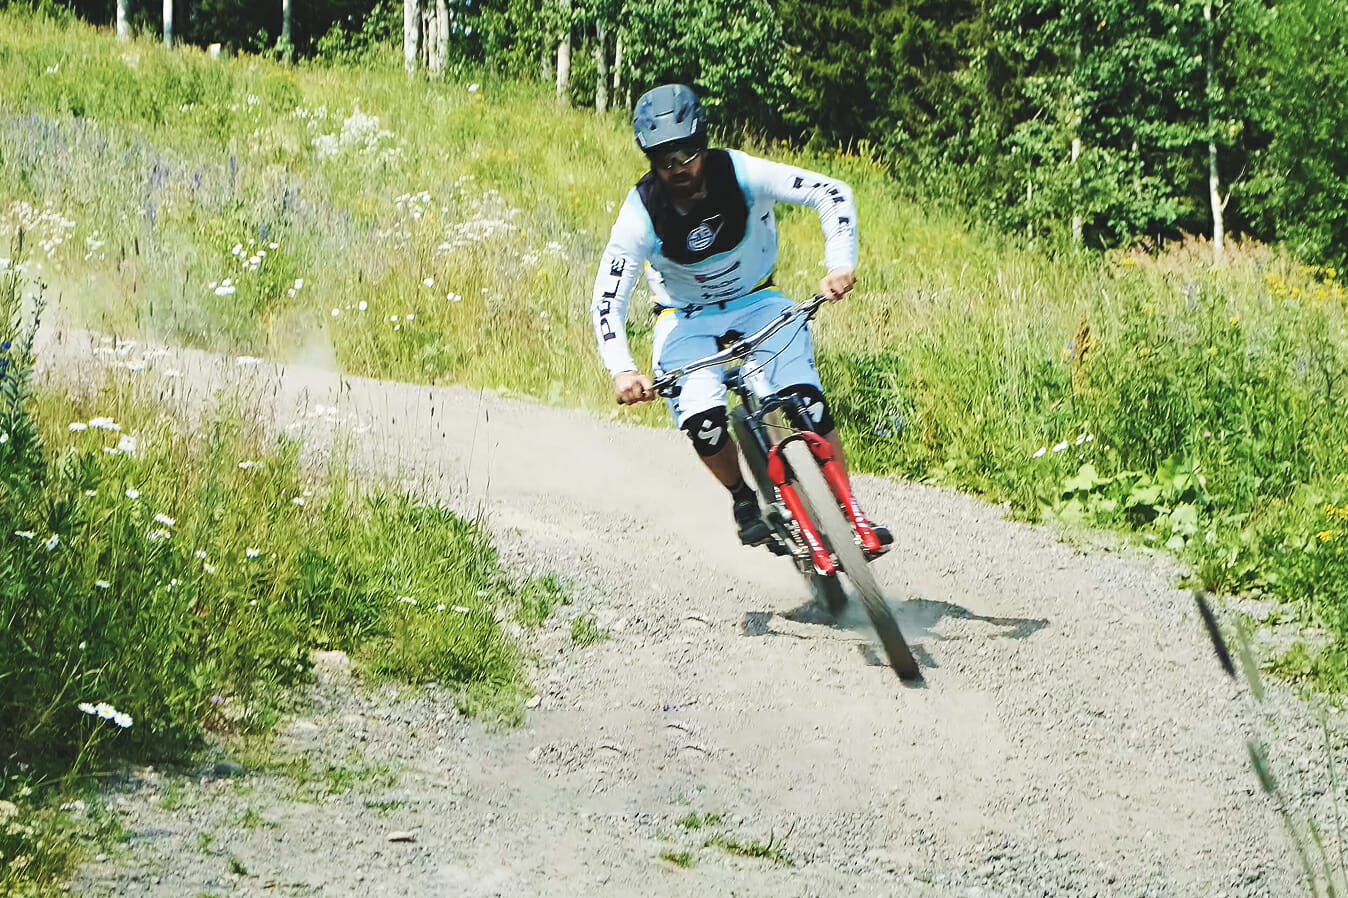
Riding tip 4: Perfecting your riding posture
First, you want to be standing up, knees slightly bent and elbows up. Drop your heels down; When your heels are down while braking, you get more support from the bottom of your feet, allowing you to stay on the pedals. If you point your toes down, you are rather ready to be sent than ready to send.
When you’ve found the sweet spot of the posture, you should be able to take your hands off the handlebar and let your core keep you up. When you are in a position like this, you know you don’t stress your hands too much, and you have a lot of space to move.


Obviously, you can’t stay in one position throughout the ride. This posture where you have slightly bent knees, elbows up, heels down, gaze forward, and balance in such a position that you can take your hands off the handlebar and still stay up should be the position you always return and recover.
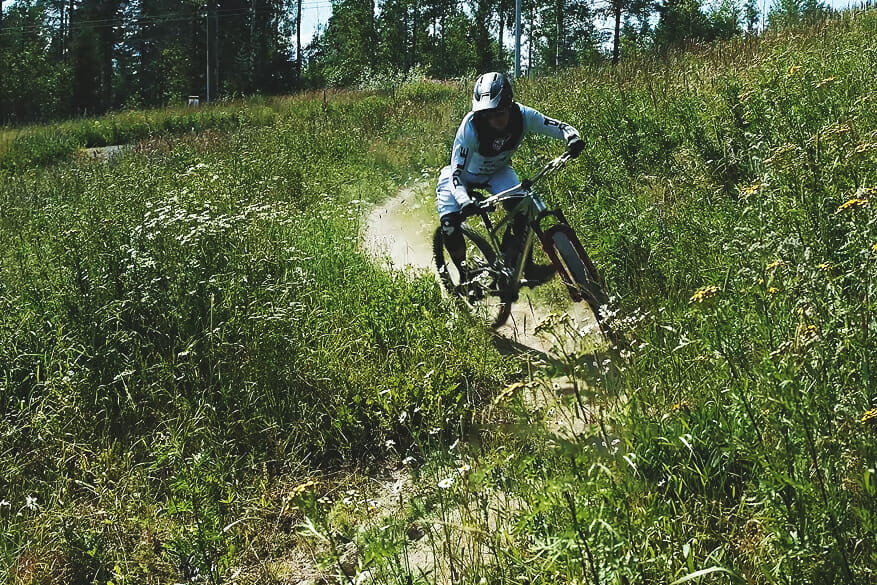
Tip 5: Pedals level
Keep your pedals level. If there’s a need to add more support, you can add more weight to the side which needs it. If you decide to ride your outside leg straight into a turn instead of pedals level, you take away the possibility to smoothly even out the balance where needed.
Tip 6: Is there an absolute way of cornering
No. It always depends on the conditions, rider, bike, tires, and whatnot, but the basics apply: keep your balance in the middle of the bike and pedals in level.
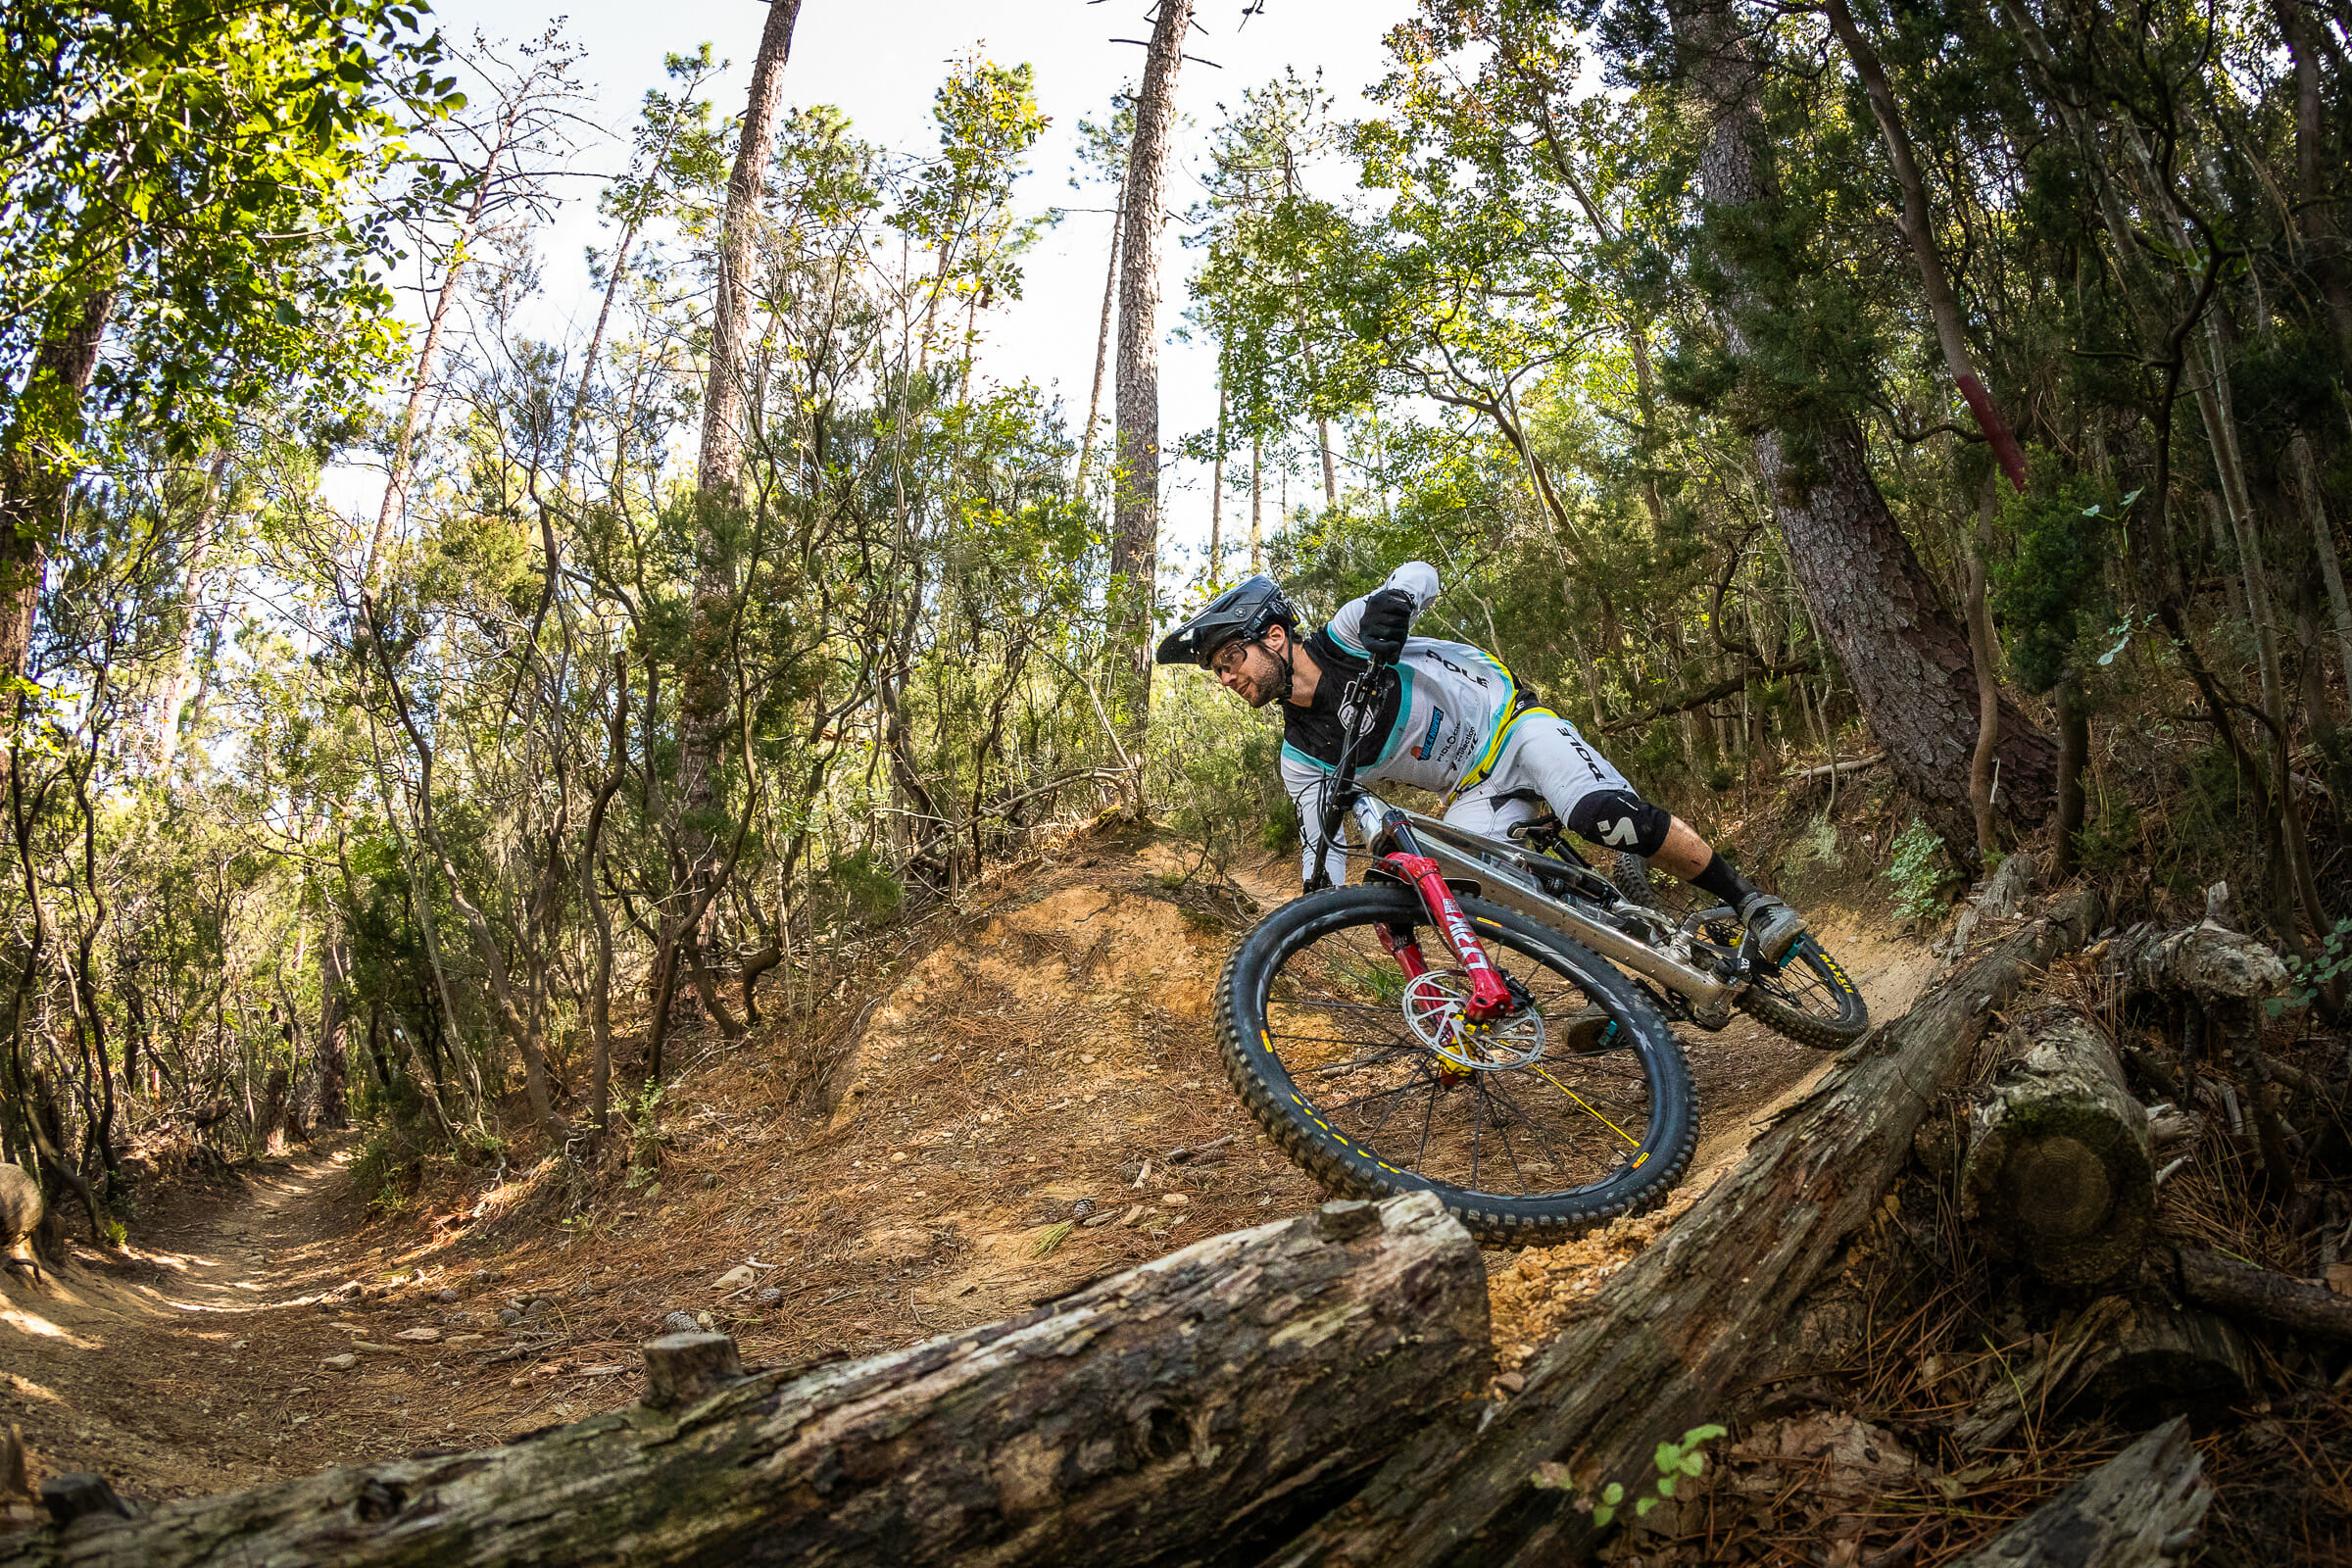
Tip 7: When to brake to corners
Break before the corner. As soon as you see the corner opening and where the trail is going afterward, lose the brakes. You should be able to ride through the turn without brakes, and exit with speed gained, depending on the corner, of course.


It’s easy to notice when the breaking goes wrong. If you are off-balance and brake while cornering, you are also pushing the bike away from you instead of riding it.
Many times we see these so-called scandi-turns where you brake hard before the corner and counter steer the bike, letting the rear wheel start to push past you while doing counter-movement to the turn with your body. It might be stylish but scandi-flicks are not an optimal solution for speed if you have space to ride the turn properly. Then again, there are cases when you don’t have much space, and it is the better option to flick that rear instead of going straight. Choose your battles!
Tip 8: Difference between the best riders and good riders
Learn the basics and learn them good. We have noted that despite the sport, the ones handling the basics properly, will succeed in the advanced stuff better. Some examples:
- Right and supportive riding posture – Less fatigued, possibility to recover and better handling.
- The right technique when cornering – Possibility to ride more corners in a row and with increased speed and confidence
- Elbows up – better utilization of the strong muscles and improved bike handling
Tip 9: Don’t ride like this (Wrong technique)
Test all the tips mentioned above in practice and compare the results by doing the exact opposite; Lean back, lower the elbows, and go T-Rexing, stick your inside leg down when cornering and so on. It is both fun if you like to laugh at yourself and eye-opening as well!
It’s actually harder than we think to include everything learned in theory and bring it into practice. If you are not able to tie it all up at once, go ahead and try them step by step. Also, feelings can be deceiving. Sometimes the camera and stopwatch are the best coaches. Just remember to focus not to ride with the wrong technique, now that you know the right one.
Tip 10: Good overall posture is a matter of inches
It’s a fine line between being too far back or too far forward. The most common mistake is to lean too much back, which makes you lose traction from the front wheel and make it hard for you to make consecutive turns. We all make mistakes every once and a while, but by learning the basics well, you can avoid those simple mistakes that usually stack up into a massive snowball effect.


When you follow these basic tips, you’ll start to feel more confident in turns, not to mention how good it feels to ride from berm to berm gaining more and more speed from each one.
We hope that you enjoyed this article and found it helpful. For more questions, hit us with a comment in the video or our social media. Cheers!
More cornering videos
Consider subscribing to our newsletter!
Our newsletter contains information like in the article you are currently reading. By subscribing to it, you’ll be amongst the first to know about our news and bike deals.